Transfer stock between locations
Transfers move stock from one of your locations to another, for example from your warehouse to a shop. In Scanpacker you build a transfer by scanning each product as you pack it, and Scanpacker creates the transfer in Shopify. It’s the same transfer you’d see under Products › Transfers in the Shopify admin, so the destination can receive it in Scanpacker or in Shopify.
Before you start
The first time you open Transfers, Scanpacker asks Shopify for permission to create and ship transfers. A store owner or administrator needs to approve it.
Staff need the Transfer inventory permission to use Transfers. The built-in Manager, Supervisor and Operator roles have it.
You need at least two locations in Shopify. A transfer always starts at the location you’re working at, so change your location first if the stock is leaving from somewhere else.
Build a transfer
To build a transfer:
- In Scanpacker, open Transfers and tap New transfer. You can also just scan a product on the Transfers page, which starts a new transfer with that product in it.
- Choose where the stock is going under To.
- Scan each product as you pack it. Each scan adds one, and the product you scanned moves to the top of the list. For a case or a large quantity, type the quantity instead, or use the + and − buttons.
- To add a product that doesn’t have a barcode, tap Search products and search by title, SKU or barcode.
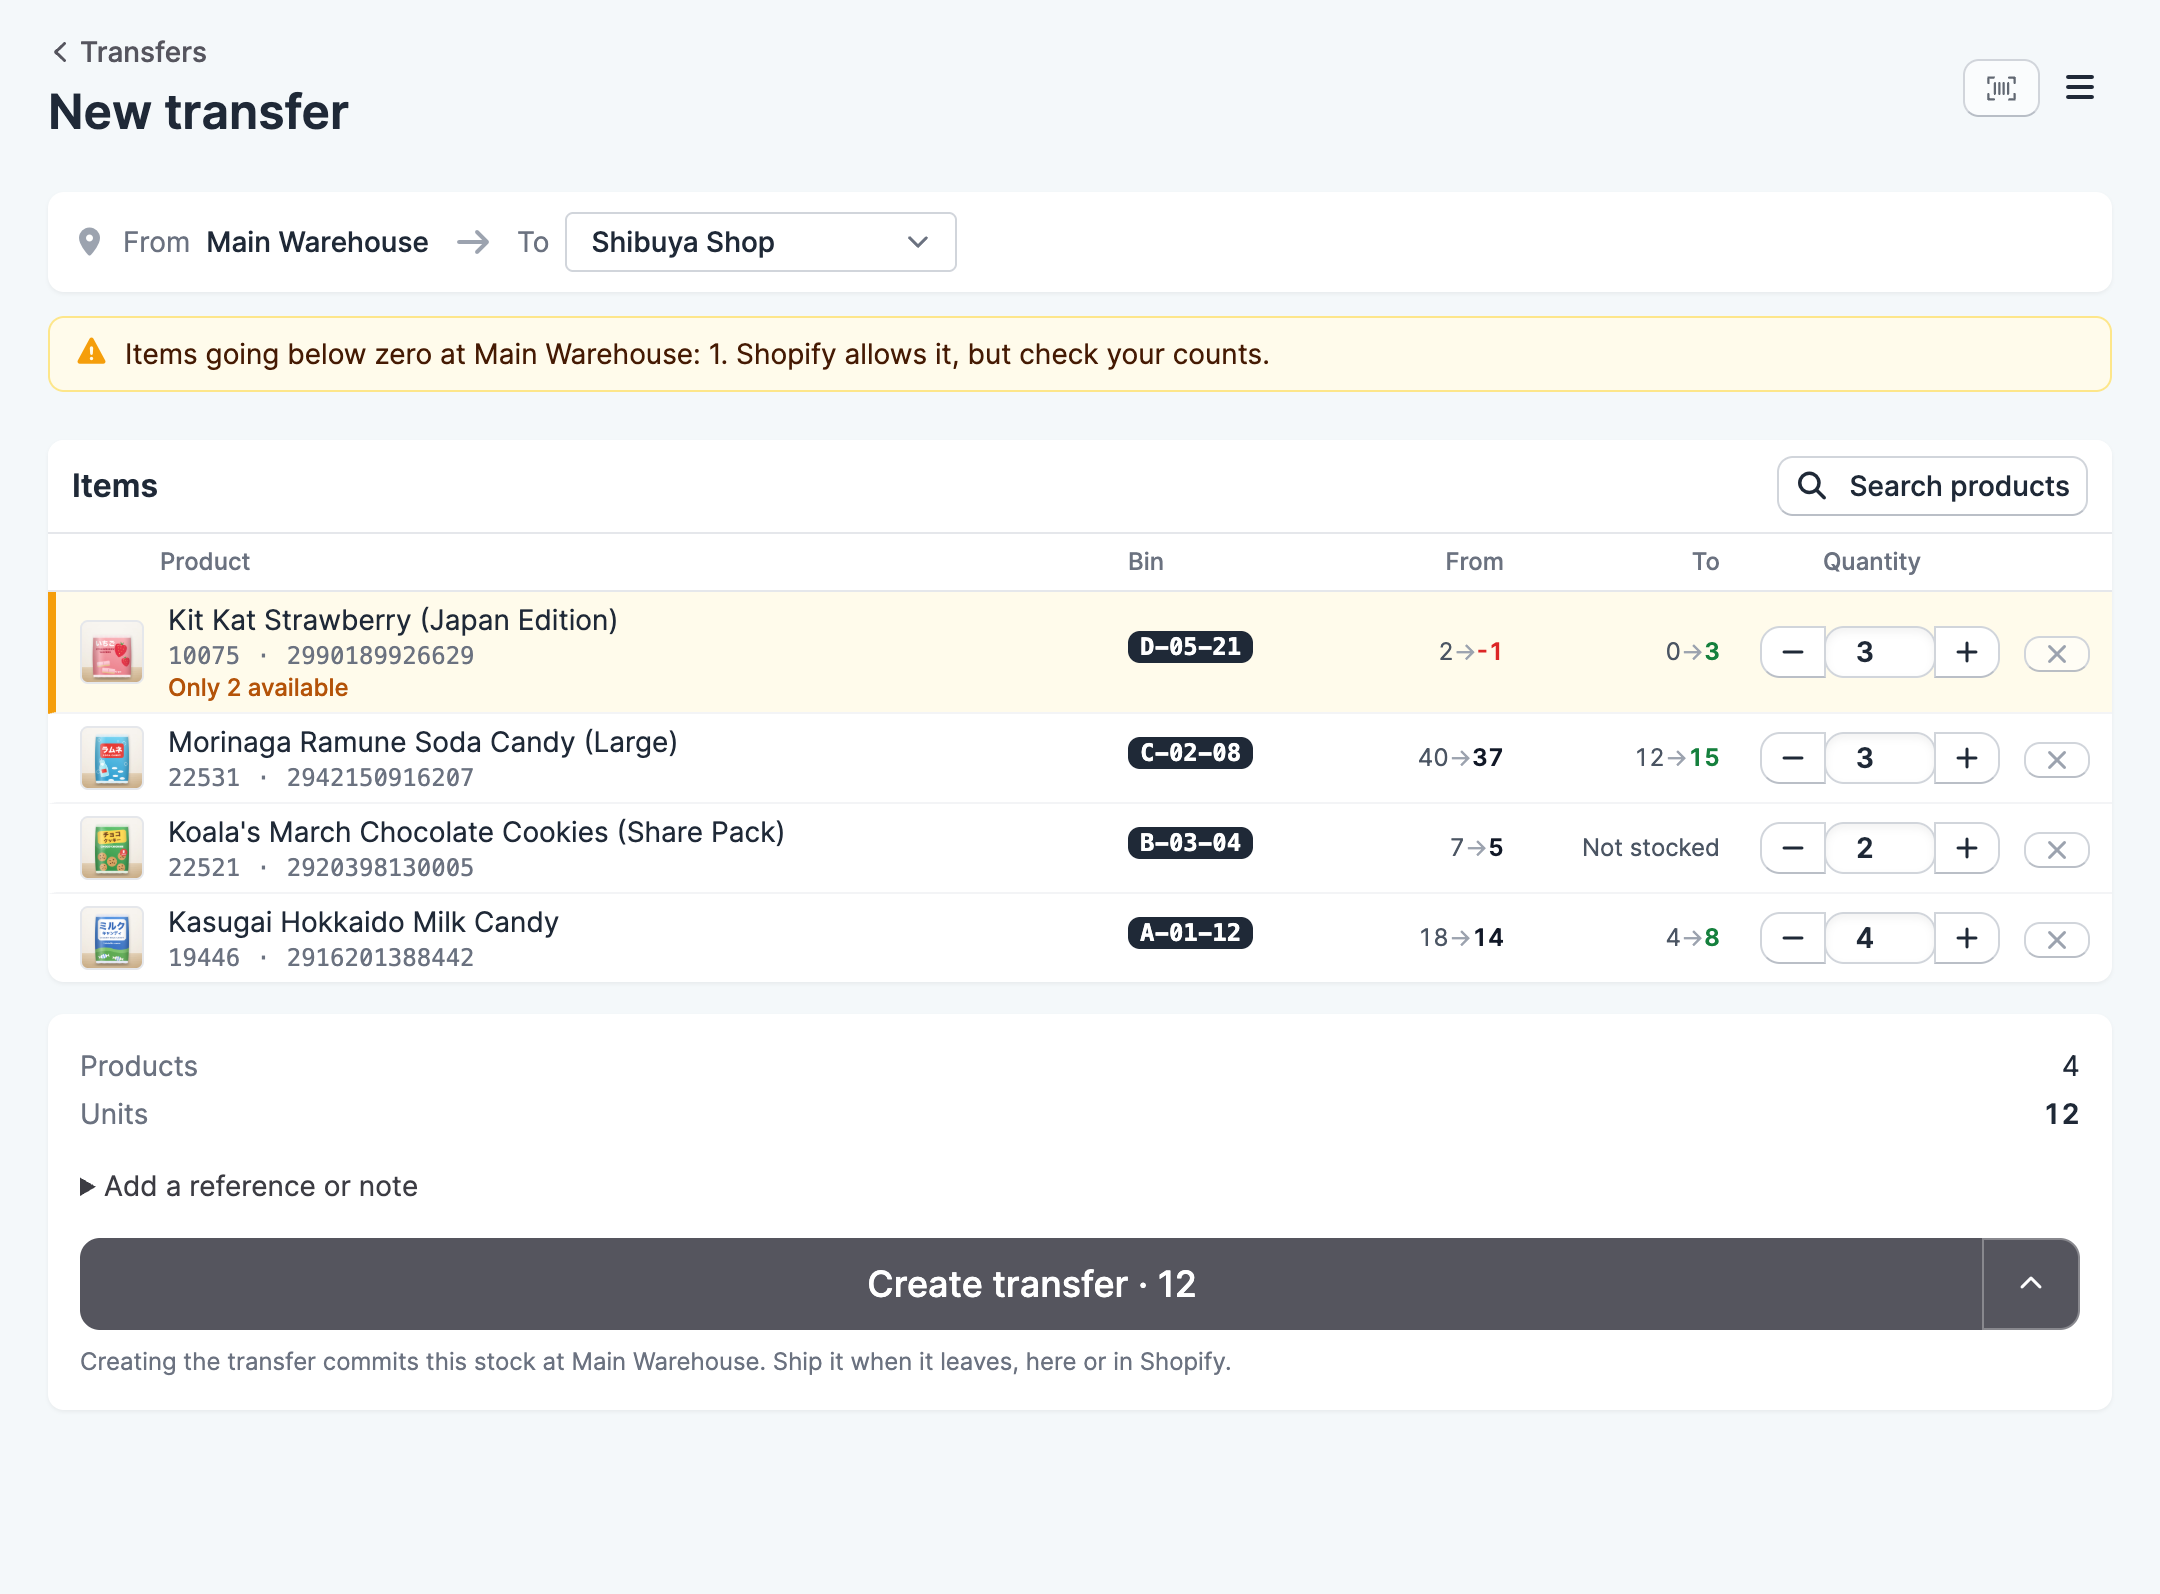
Each line shows the product’s storage location and its available stock at both locations, before and after the transfer. If the transfer would take a product below zero at the origin, Scanpacker marks the line and warns you. Shopify allows it, but it usually means the count is wrong. Products that don’t track inventory, and bundles, can’t be transferred, so Scanpacker marks them and leaves them out.
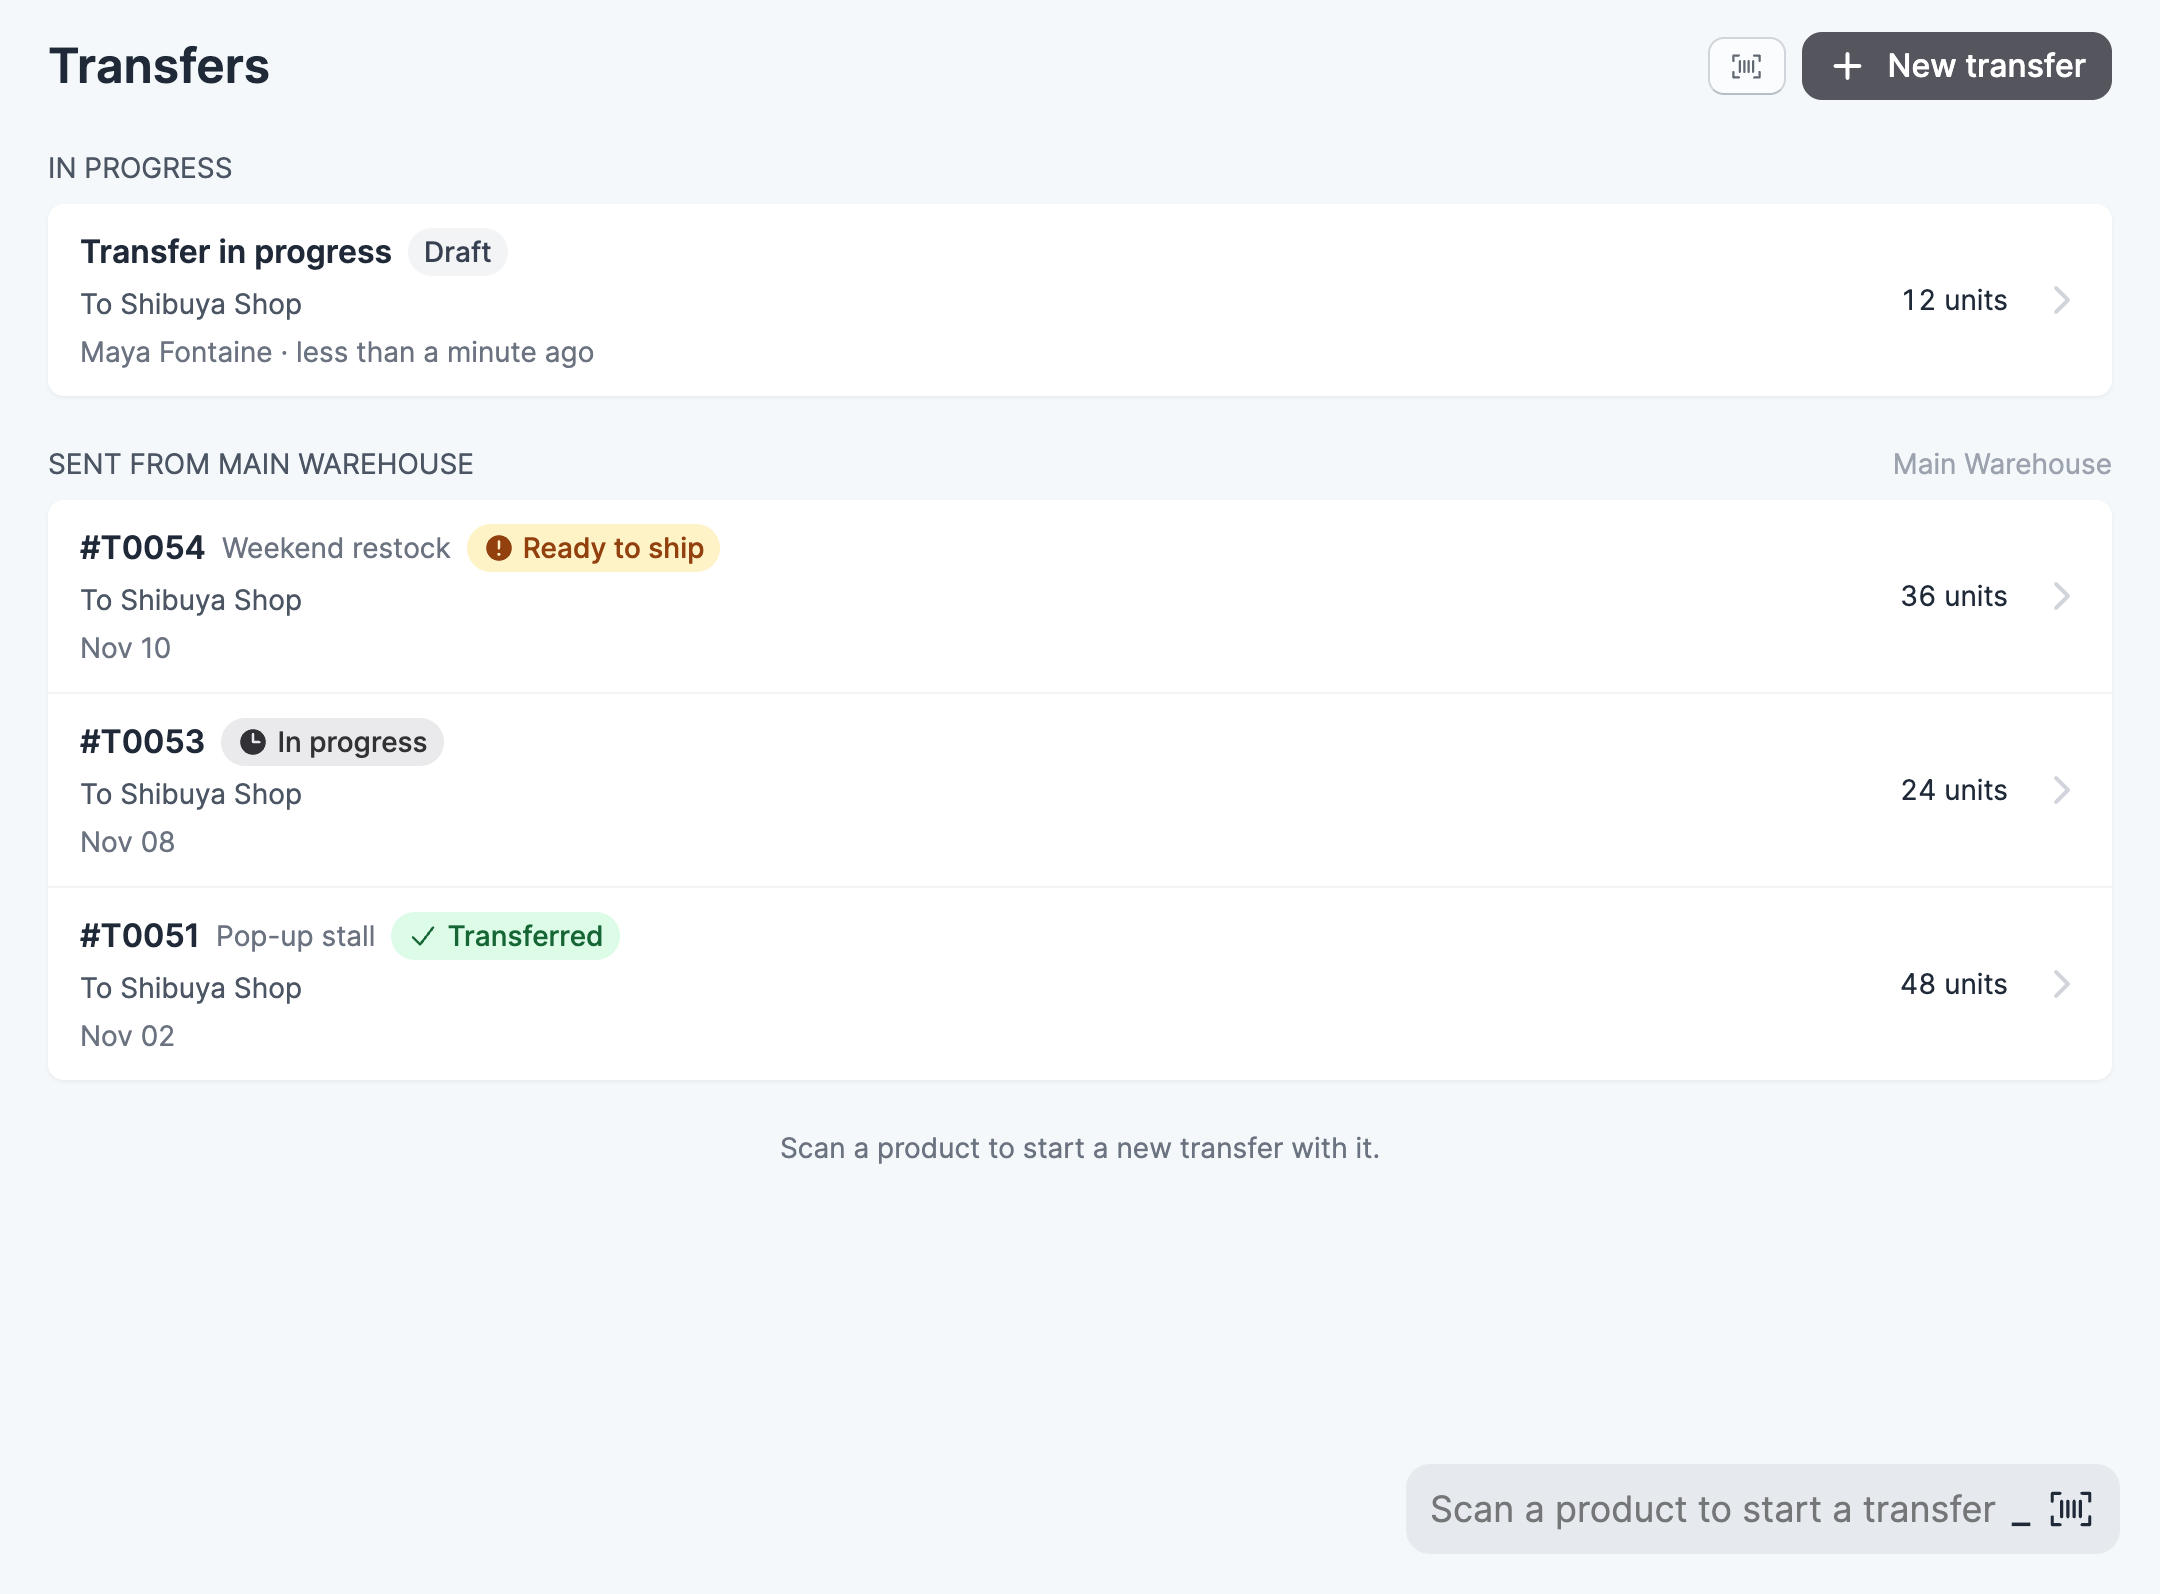
Your transfer is saved as you scan, so you can leave it and carry on later, on the same device or another. Transfers you haven’t created yet are listed under In progress on the Transfers page. To throw one away, open it and choose Discard transfer from the menu.
You can also add a reference and a note, for example the name of the shop or the delivery it’s for. Both appear on the transfer in Shopify.
Create and ship the transfer
When everything is packed, tap Create transfer. Scanpacker creates the transfer in Shopify as Ready to ship, and Shopify sets the stock aside at the origin so it can’t be sold there.
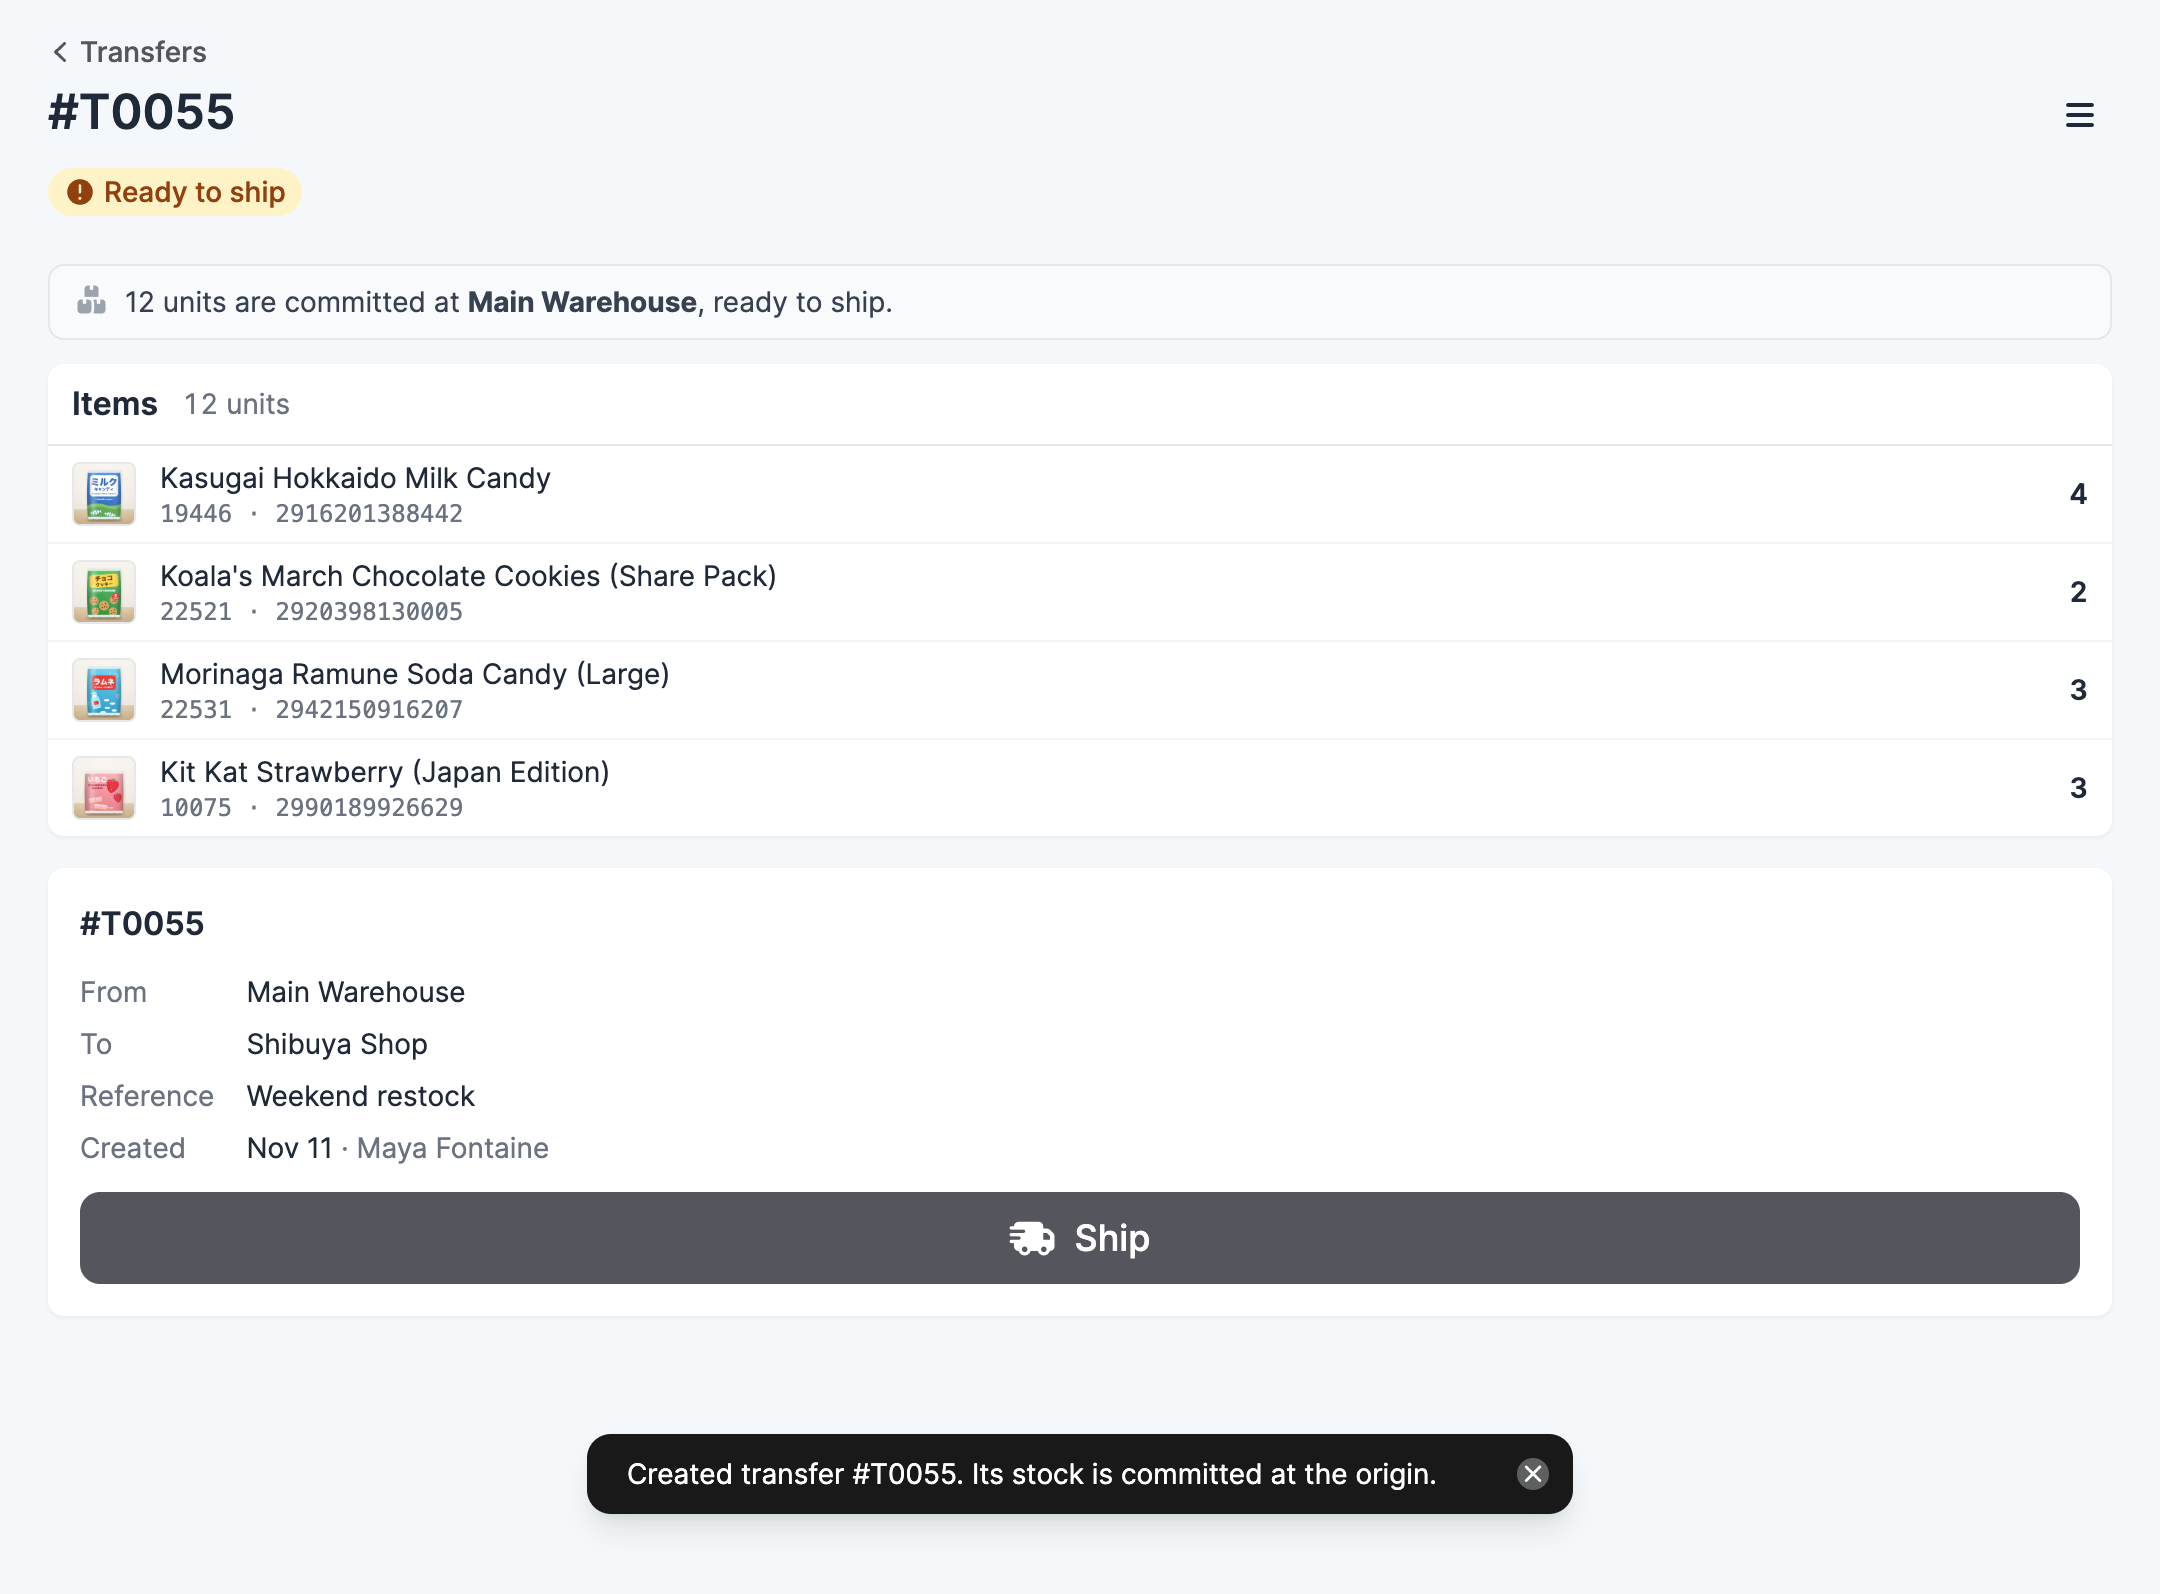
When the stock leaves, open the transfer and tap Ship. You can add the carrier and tracking number. Shopify takes the stock off hand at the origin and shows it as incoming at the destination. If you’re shipping straight away, choose Create and ship from the menu next to Create transfer to do both at once.
Receive the transfer
Once it has shipped, the transfer appears in Receiving at the destination. Staff there scan the items as they unpack them, and Shopify adds the stock to that location. See Receive stock.
Note: After you create a transfer, change it in the Shopify admin. Open the transfer in Scanpacker and choose Open in Shopify from the menu.